How does “E-commerce in messenger chatbot’ work?
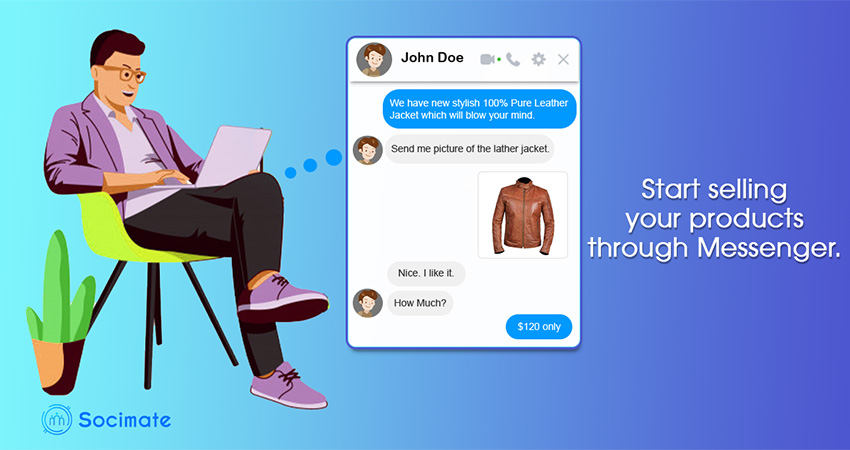
ChatPion’s “E-commerce in messenger chatbot” is a special feature to sell your products via Facebook Messenger— it can sell your products to many people at the same time. On the other hand, ChatPion’s other features, in various ways, do the marketing of your products via different social media, especially via Facebook.
In this article, I will show you how “E-commerce in messenger chatbot” works. Indeed, you will be amazed when you know how effectively it can sell your products to your clients without your supervision.
Well, after you have created and arranged your virtual store and set the “E-commerce in messenger chatbot”, your special chatbot is ready to sell your products to your clients.
When a client clicks on the “Send message button” of your Facebook page, a chat
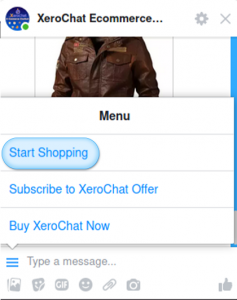
window will appear instantly. If it is the first time, the client has to click on the “Get started” button at the bottom of the chat window. And if it is not the first time, the client has to click on the persistent menu of the chat window. If so, a drop-up menu will appear with some buttons including the “Start Shopping” button.
Just as the client clicks on the “Start shopping” or “Get started” button, the chatbot will greet the client with a message that you have written while setting the “E-commerce in messenger chatbot”. Under the greeting message, the client will see some buttons you have created before. I assume you have created three postback buttons called “Trending products”, “Category wise product” and “New arrival” and a “Webview” button called “Our store”.
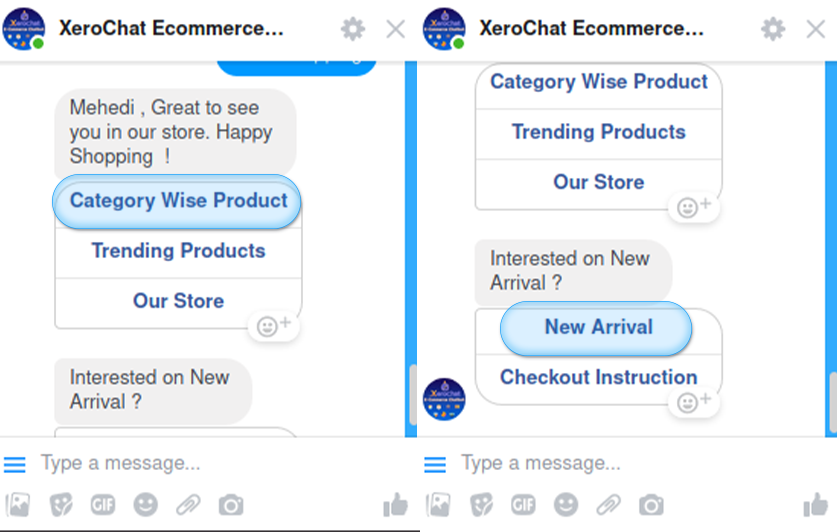
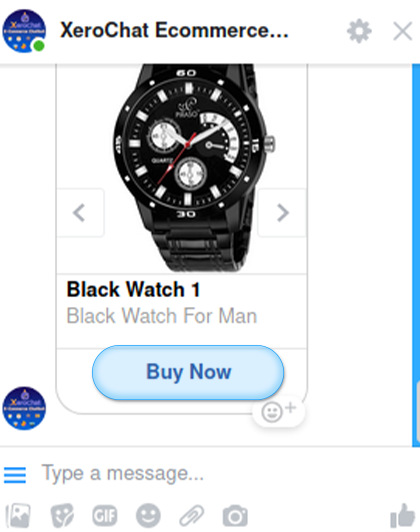
If the client clicks on the postback buttons called “Trending products” or “New arrival”, the products will be displayed— One product at a time— the products that you have integrated with the specific button. The Client can move back and forward of the list of the products by clicking on the “Greater than” > sign on the right side of the product’s image and a “less than” sign < on the left side of the product’s image.
If the client clicks on the webview button called “Our store”, a separate bigger window, outside of the chat window, will appear with the whole store inside it.
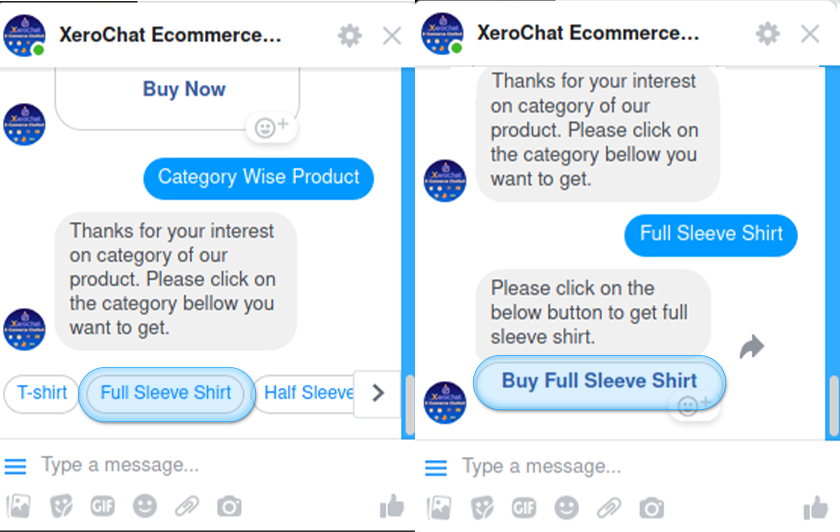
If the client clicks on the “Category wise products” button, a list of different categories will be displayed inside the chat window. When the client clicks on one of the categories, another category button (like “Buy Full Sleeve Shirt”) will appear with a greeting message above it. When the client clicks on the button, all products that have fallen into this category will appear in the bigger window.
Under every product inside the chat window, the client will see a button called “Buy Now”. When they click on the “Buy Now” button, a comparatively bigger window will appear outside the chat window with your Facebook page name at the top of the window, the logo of your shop, and the image of the product.
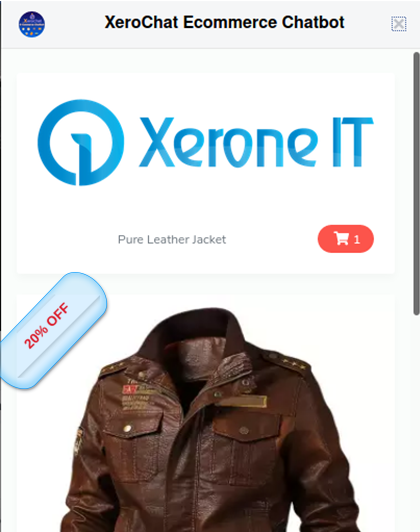
If the product is on sale, at the left upper corner of the image will appear something like ‘20% off’ written in a badge. Under the image, the client will see a bar consisting of two buttons called ‘Remove (-1)’ and ‘Add (+1)’. By clicking on the ‘Add (+1)’ button, the client can add one item to the cart. Before adding a product to the cart, you have to select an attribute of the product by clicking on a button called “Choose”. Likewise, by clicking on the ‘Remove(-1)’, the client can remove one item from the cart.
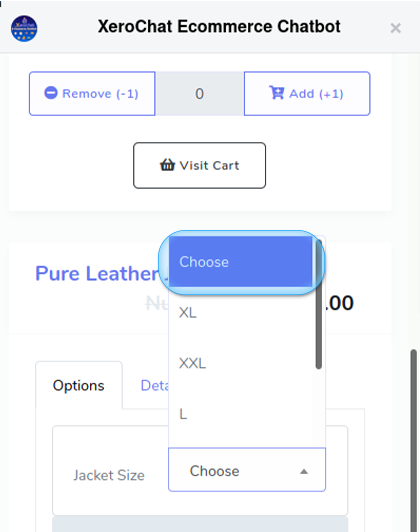
Between the two buttons, there is a place where they can see the number of products the client has already added to the cart. After you have added at least one product to the cart, a button called ‘Visit cart’ will appear under the bar with the two buttons.
Then the client will see the name of the products and the price of the products. If the product is on sale, they will see the original price tag with strikethrough like this $ 200 and beside it the sale price tag.
Under the name of the products and the price tag, the client will see three buttons such as ‘Option’, ‘Details’, and ‘Note’. The “option” button is already selected and the client sees the attribute of the products. From here, clients can choose the attributes of the products such as cloth size, shoe color and things like that, without choosing the attribute of the product, the client can’t add the product to the cart. Under that people will see the type of products, for instance, T-shirts and the number of items in the stock. Then clients will see a button called “Visit your shop”.

If the client clicks on the button called “Visit your shop”, the entire shop will appear, clicking on the “Our shop” button, in the same window with three buttons under the logo of your shop, such as “Search”, “Category” and “Short” and a ‘Cart’ sign. From the “Category” and the ‘Short’ buttons, people can select any category and any kind of products. From the search button, people can find any product from your virtual shop by writing down the name of the products. Under every product, the client will see the name of the product and the number of the total sales of the product, price of the product and category of the product. There are also two buttons called ‘Choose option’ and ‘Visit cart’ button.
If a client clicks on the “Choose option” button, the specific product will appear out of the shop. The client can see the description of the product by clicking on the ‘Details’ button. If clients click on the ‘Note’ button, they will see some extra information related to the products.
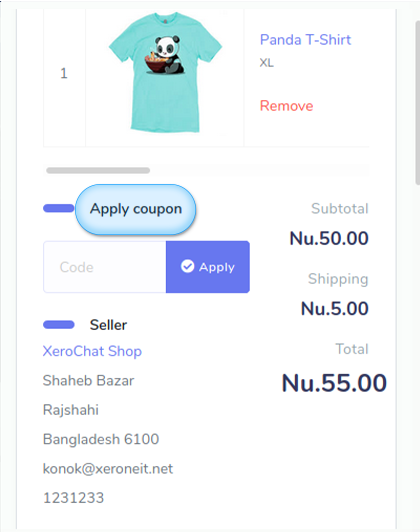
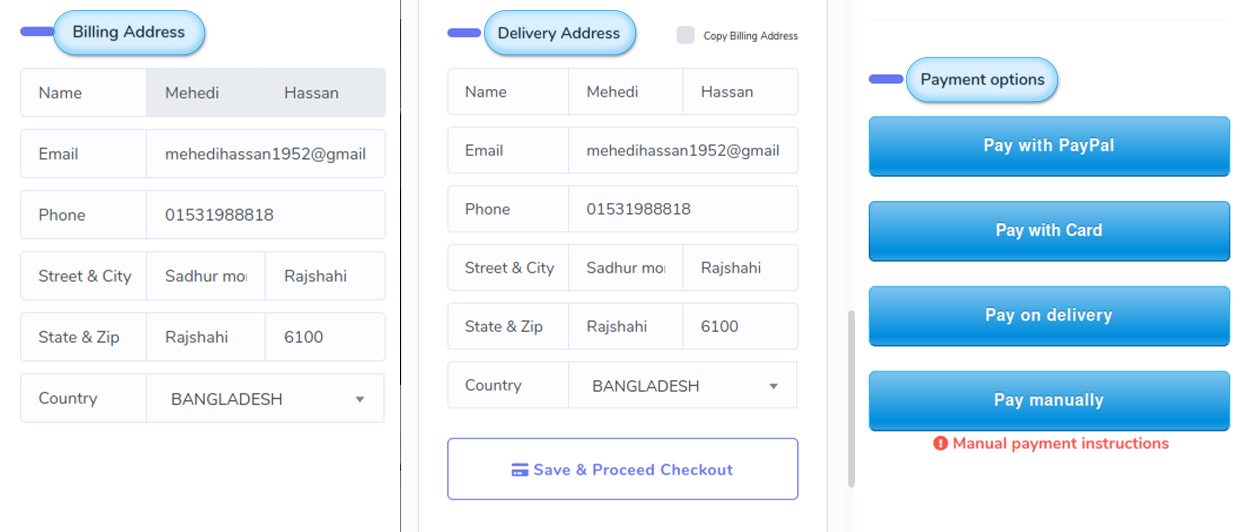
If the client clicks on the ‘Visit cart’ button, it will take the client to their cart. In the cart, they will see the products listed they have added to their cart. Then come an option called “Apply coupon”. If there is a coupon associated with the product, the client has to enter the coupon code and click on the “Apply” button. Then there will be the price of the product(with the tax added if the product is taxable), the “shipping” cost and the “total” amount; the address of the shop and the phone number and Email of the shop owner. Now if the client wants to buy the product, they have to provide the “Billing address” and “Delivery address”.Then they have to click on the button called ‘Save and proceed checkout’.
After they do so, payment options, such as “Pay with PayPaly”, “Pay with Card”, “Pay on Delivery”, and “Pay manually”, will be displayed under the ‘Save and proceed checkout’ button. The clients can choose any of the options.
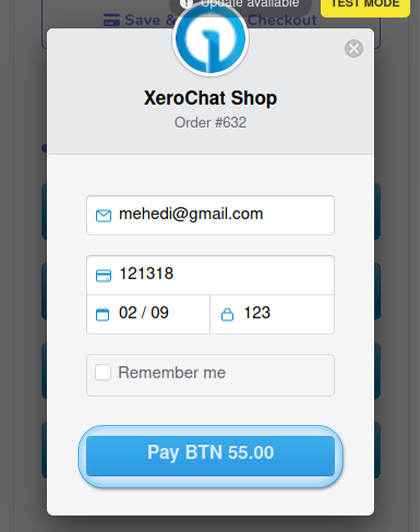
If they click on the ‘Pay with PayPal’ option, the process of paying with PayPal will be displayed instantly. If they click on the ‘Pay with card’, a pop-up form will appear where the client has to enter his or her Email, card number, date, and cvc number. You can also save these things by giving a tick on the “Remember me” box. At the bottom of the box, the client will see a button with the total amount written on it like, “Pay $ 120”. Once the client clicks on the button, the amount will be paid to you.
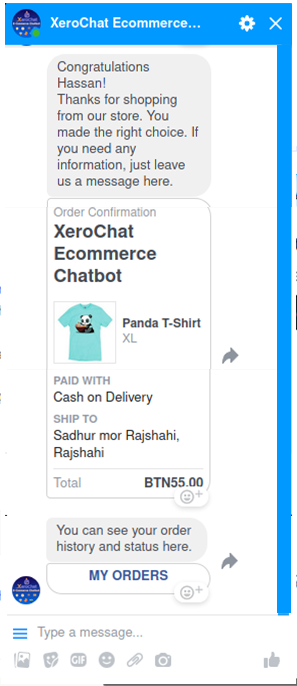
And if the client clicks on the ‘Pay on delivery’ option, an invoice will be displayed both on the separate window with payment status pending. The client can see the invoice in another tab of the same browser— out of the window— if they click on the link at the top of the window.

Besides, the client’s order history will be sent to his/her chat window with ‘My Orders’ button and to his or her Email with a link to the order history. The client can see their order history by clicking on the ‘My Orders’ button inside the chat window and the link that has been sent to Email.
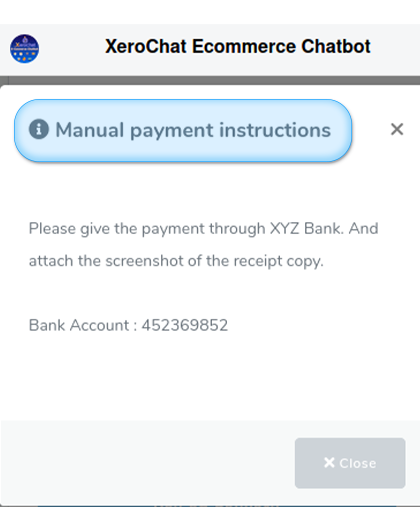
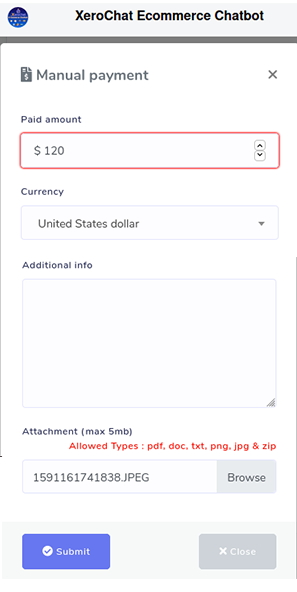
If the client wants to Pay manually, they have to pay the amount to your bank account. The client will get the bank account information by clicking on the button called “Manual payment instruction’ under the “Pay manually” button. When they click on the ‘Pay manually’ button, a form will be displayed where the client has to fill the form and attach the screenshot of the receipt copy. Once the client clicks on the ‘Submit’ button, the purchase is done.
Now the client will get the invoice again with a confirmation message: “Your order has been placed successfully and your payment option is being reviewed. You can see your order status from the page: The link of the invoice.” If the client clicks on the link, the order summary will appear instantly.
Now you can see the order in the ‘E-commerce in messenger’ chatbot interface, and deliver the products to your clients. That is, “E-commerce in messenger chatbot” has sold the products to your clients.